Showing posts with label easy kids crafts. Show all posts

Thursday, December 15, 2011

Goodbye My Friend

My daughter's best friend is moving away and wanted to give her a gift. With it so close to Christmas, I thought it was an amazing idea. I did want to give her something that meant something and was not going to make the parents feel bad about not giving my daughter anything. So we decided to make her something.

Their preschool class recently put on a Christmas show, so I took a picture of our girls together and printed it up and let my daughter make a picture frame for it. She had so much fun.

Hot glue gun
Popsicle sticks
Markers
Pom pom


First thing we did was glued 3 popsicle sticks together lengthwise.


Then we hot glued one stick across two sets to hold them.


Glue them all together to make a frame.
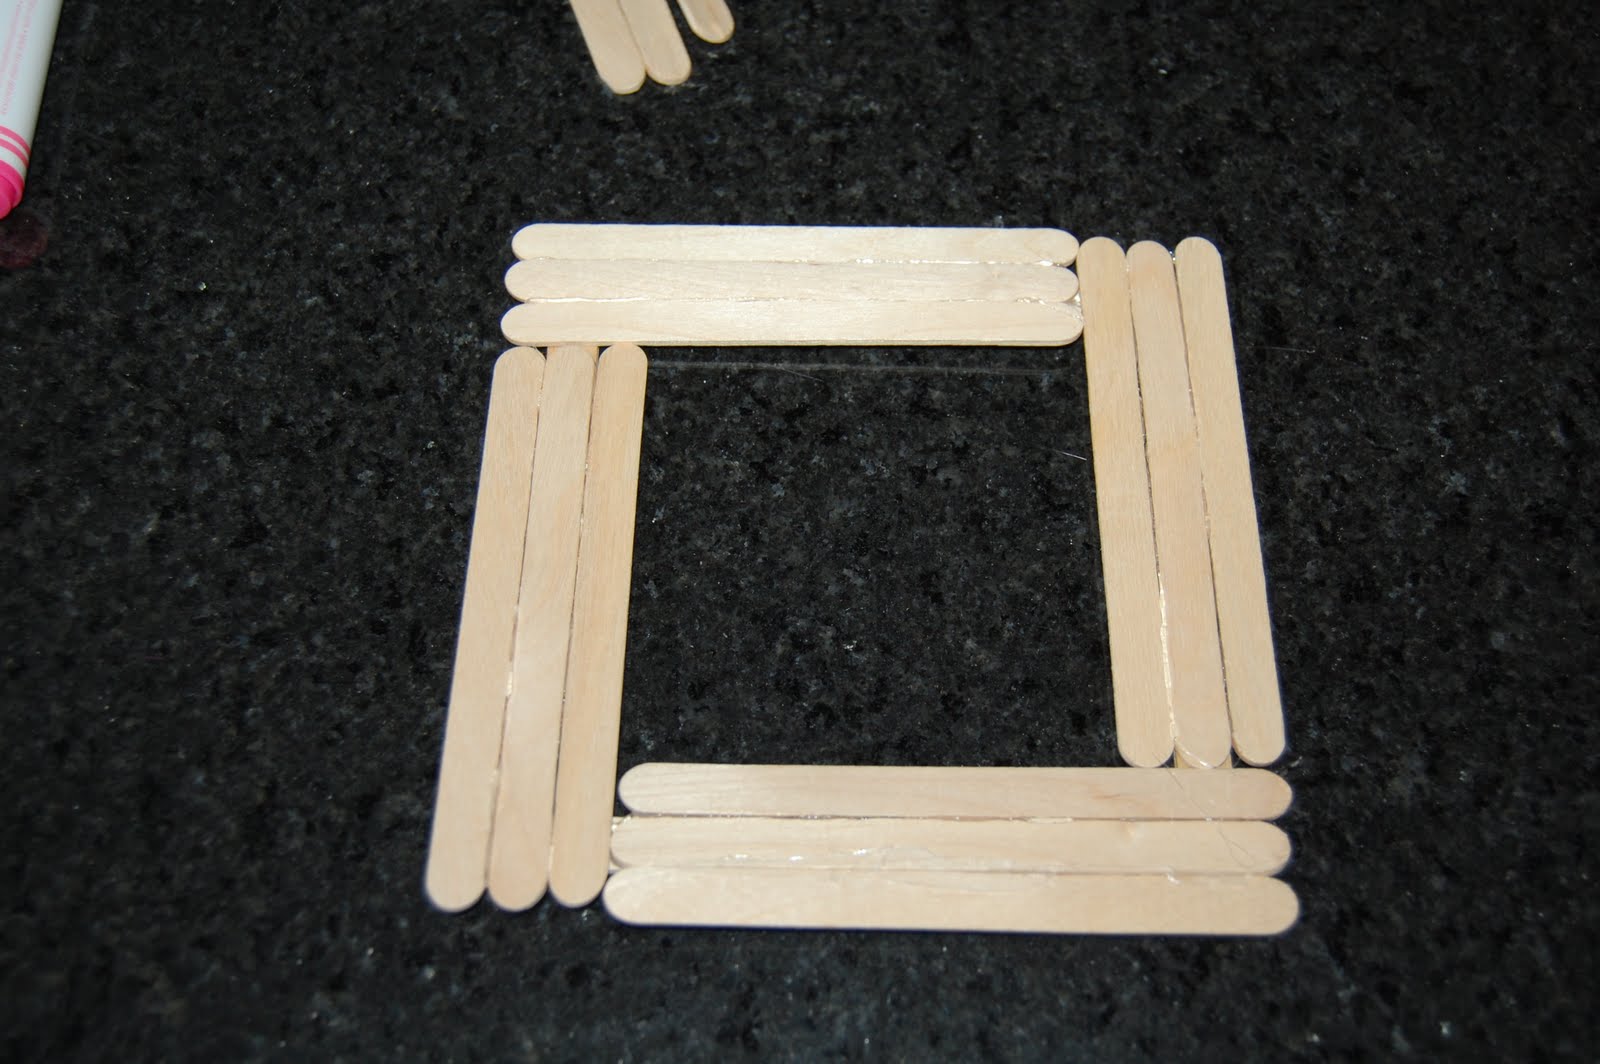


Have your child color it with markers or crayons or let them paint them. We hot glued the pom pom on them and them tied a string to it so they can hang it on thier Christmas tree or a nail in a bedroom.


I let my daughter sign it and them I glued a stick across the back as well so the I did not have to glue the picture in it and they can change it out as we send them more pictures in their pen pal letters.


How cute is this? I had all the supplies so it only cost me about $2.36 for the printing of the picture. Inexpensive gift for a friend to remember you by.

You can of course use any crafting supplies to this, such as glitter, gems, eyelets, buttons, anything you have around the house. I am sure that everyone has done something like this when they were younger. It is a timeless kids crafts and a wonderful way to show someone that your child cares for them.

Thursday, December 1, 2011

Salt Dough Ornaments

Every year I try and make something for the rest of my family and I always choose ornaments, so that every year they can pull them out and remember how much I love them. I have always wanted to try to make Salt Dough Ornaments, but never had the time until now. I see these recipes floating around all the time durning the holidays. I looked at many, many different recipes and they were all the same, some had small differences, but nothing to dramatic. This is the recipe I came up with after my search and trials.

2 cups flour
1 cup salt
1 cup water (room temp)

Place these three ingredients into a large bowl and mix. I mixed by hand and it did not become too tough.


Place flour down and roll flat. About a 1/4 inch, just like you would with roll out cookie dough.


Use cookie cutters to cut out your designs. I used a screwdriver to make the holes for the ribbon to hang them from.

You bake them at 200 degrees for 4 to 6 hours. I saw different times and temperatures, but this one was the one that seemed to work the best for me.

Be careful you do not make them too thin or the centers will bow and too thick will never finish.


I went to the store and bought a plastic leaf and cut of a small portion of it and lightly rolled it in to the ornament. Remove the plant and you get a beautiful impression of the plant and it will bake into it. I also made some and used out leather stamps and lightly pressed in letters for my sons Cub Scout Pack's Christmas party.

You can add food color, glitter, or whatever you think you would love to see in them.


After taking them out of the oven, let them sit and cool like you would for a cookie. When they were cool, I took the screwdriver and put it back through the hole. They may close up a little while baking.

Paint, string, and your done. Give them as gifts, hang them on your tree, or use them as gift tags!